
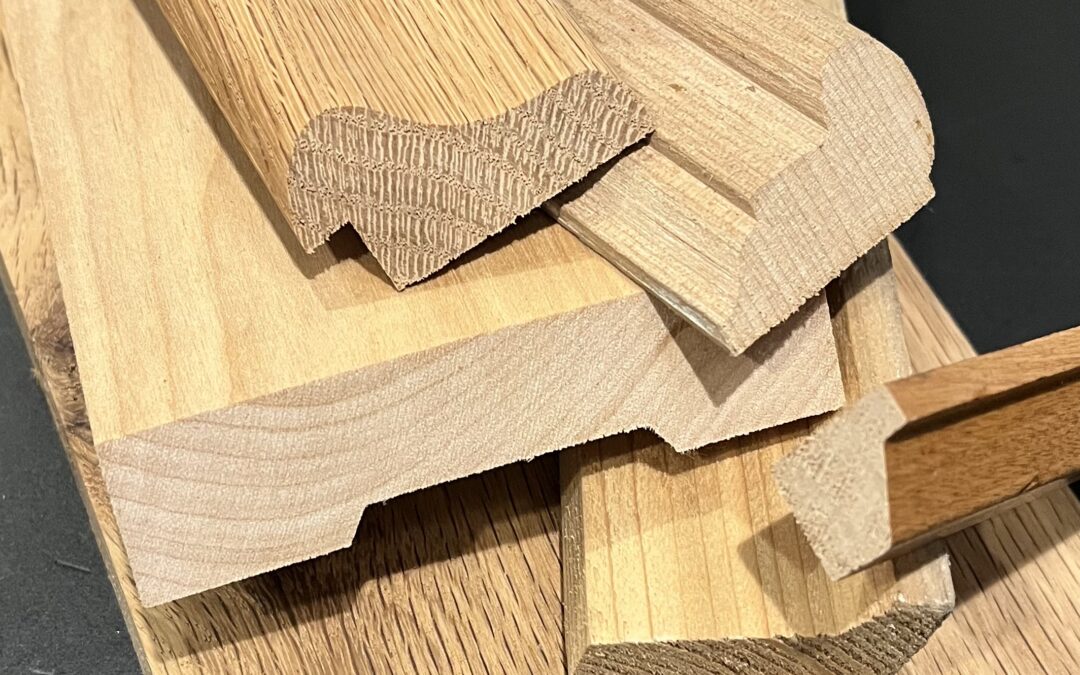
When a homeowner is missing a piece of original baseboard, or a previous remodel chopped out a section of picture rail, they can't just run to a modern big-box hardware store. Modern trim profiles are thinner, narrower, and made of vastly different wood species. Putting modern pine trim next to 100-year-old old-growth Douglas fir or Birch looks instantly wrong.
This guide outlines our specialized, client-facing methodology for identifying, drafting, and accurately duplicating historic woodwork.
The 5-Step Precision Matching Process
Replicating historic woodwork is an art form masquerading as geometry. Here is exactly how we ensure a seamless, invisible match between the old and the new.
Step 1: The Profile Extraction (The Comb Test)
If there is a small area that we can remove a sample of the profile, that is always preferred since it will provide us with an exact replica. In some rare cases though, there isn't any small piece we can remove, so we then use a high-density contour gauge (a tool with hundreds of tiny, sliding pins) pressed directly against a clean cross-section of your surviving molding. This locks in the exact, mathematical curves, reveals, and bevels of the original design. Any relief or profile that we are unable to get with the contour gauge will be measured and added to the profile from the contour gauge.
Step 2: The Wood Species & Grain Forensic
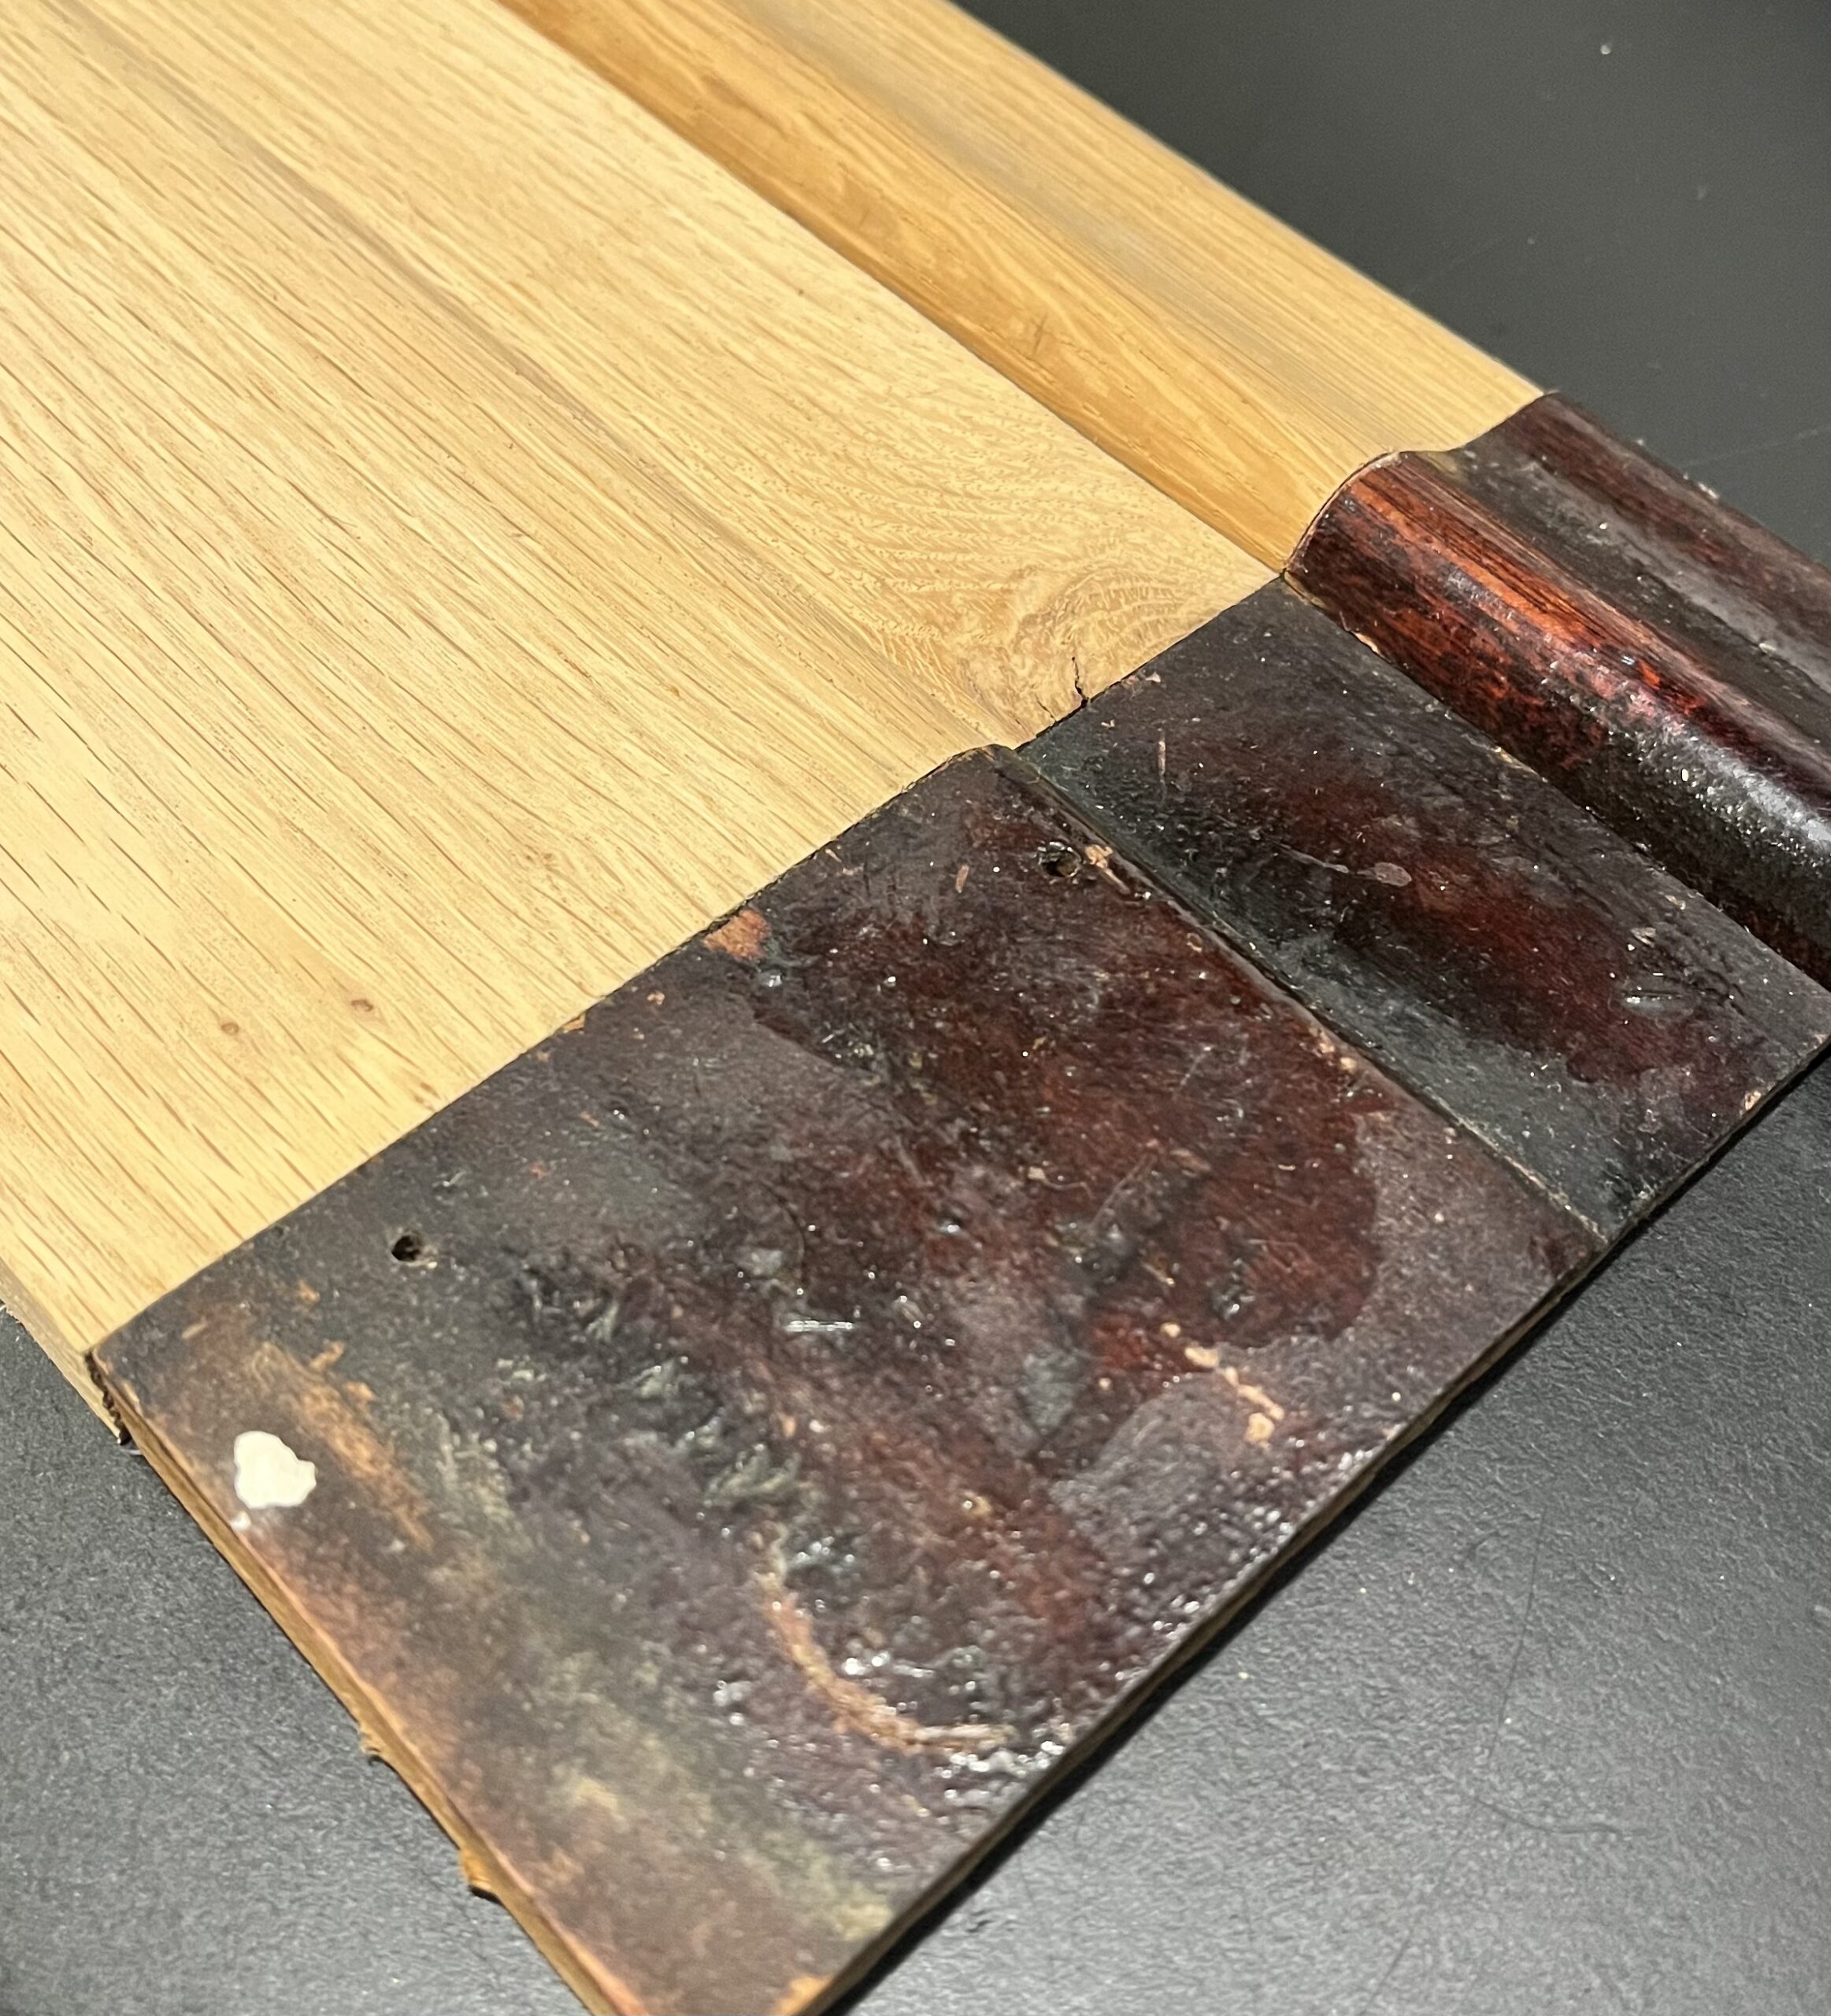
Craftsman homes relied heavily on specific regional woods—usually Old-Growth Douglas Fir, White Oak, Red Oak, Birch, or Heart Pine. We analyze the ring density and grain pattern of your trim. Matching the species and grain pattern is critical because different woods absorb historic stains and shellacs completely differently. If the species is matched, but grain pattern ignored, the new molding may visibly look out of place once installed next to the original.
Step 3: Digital Vector Drafting & Knife Grinding
All of the profiles will then get transfered from either the physical sample, or the contour gauge and measurements taken onsite, to a CAD (Computer-Aided Design) software to create an accurate digital blueprint. If a matching profile doesn't exist in our library, we will make a knife to match. Some more complicated profiles may require additional passes for reliefs or notches on both sides of the profile.
Step 4: Finishing steps
After the knife is made, we will cut and plane "blanks" out of the wood species. A small sample is then run through to fine tune the settings so that if the new molding has to splice in with the original, they will be a perfect match. Once the sample is a verified match, then the total length of the order is run through. The final process is to visually inspect every piece, and lightly sand to remove any tooling marks (these are rare but do occur periodically).
Step 5: Installation
In recent years, many shops like to pre-finish the molding at their shop. While this does offer some efficiencies, this isn't how it was originally installed. Many homes built in the turn of the century simply had all of the raw materials dropped off on site and the craftsmen installed and finished per the owners requirements. This is how we suggest the unfinished molding get installed. This allows for a seamless transition between the original and new, allows nail holes to be filled and sanded before finishing, and allows for a more consistent finish match to the original.
The Historic Woodwork Checklist
When we walk through your home during an interior inspection, these are the classic elements we examine for damage, missing pieces, or incorrect modern replacements:
|
Architectural Feature |
What We Look For |
Why It Matters |
|---|---|---|
| Plinth Blocks & Baseboards | Thick, multi-piece stacks (usually a 1/2x6 or 1/2x8 base with a custom cap and shoe). | Modern trim is usually one piece incorporating the Base and Cap into one piece. Plinth Blocks help to create a true transition between the Baseboard and the Casing. Visually this allows your eye to adjust to the change in geometry between the two different profiles. |
| Window & Door Casings | Clean, flat header bands with a slight overhang (classic Craftsman "wishing well" header design). | Protects the geometry of the room. Incorrect angles ruin the blocky, sturdy Craftsman aesthetic. |
| Picture Rails | A continuous molding running 12-18 inches below the ceiling. Sometimes these are made up of several different pieces similar to the Baseboards. | Designed to hold metal hooks for hanging art without nailing directly into fragile historic plaster. |
| Plate Rails, Chair Rails & Wainscoting | Vertical tongue-and-groove beadboard capped with a deep, functional shelf in dining rooms. | One of the most common features torn out during 1980s remodels; highly sought after for restoration. |
The Vintage Home Pros Standard: While we won't ever be able to replicate the old growth lumber that was orifinally used, we can spend a little extra time sourcing the closest matching replacement. We never use modern MDF (medium-density fiberboard) or lightweight finger-jointed pine for historic interiors. We source only stable, premium hardwoods and vertical-grain softwoods to ensure your interior remains historically authentic and structurally sound for another century and beyond.